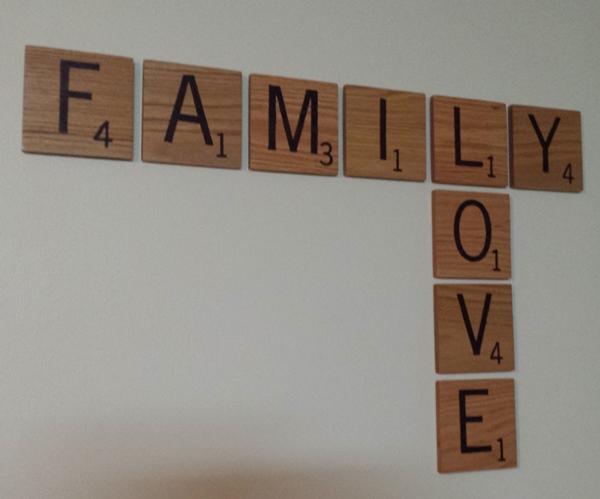
 Want to add a special touch to a room, can’t figure out what to do with a wall, or… Well if you like Scrabble or just the look, you can create your own personalized wall art.
There are numerous options of how to do this which includes just simply applying stencils to the wall or buying the tiles at $5-$10 a piece. If your like me I like to do things myself and as I needed almost 30 tiles, I simply created my own for $60 or $2 a piece.
Materials Needed:
For 30 pieces
- 5 – 1/2″ x 6″ x 3′ pine, oak, or cherry (I chose oak)
- Polyurethane or stain of your choice
- Black paint, stain, marker, or letters
- 80 & 220n grit sandpaper
- Brushes, foam roller, &/or clean clothe
Steps:
- Before you cut the blocks down to size (5 1/2 x 5 1/2) – sand the front & back of the boards (80 grit with a random orbit sander works great)
- Setup a chop saw or… and cut down to size
- Trick of the trade – bunch all the pieces together & sand all the edges at once (also 80 grit)
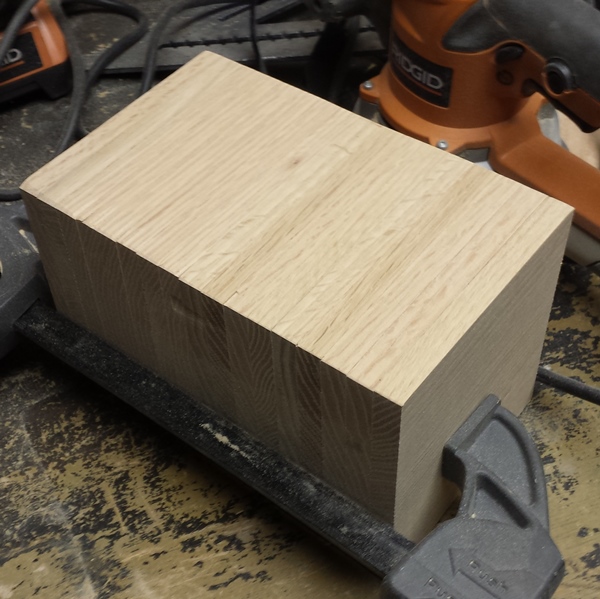
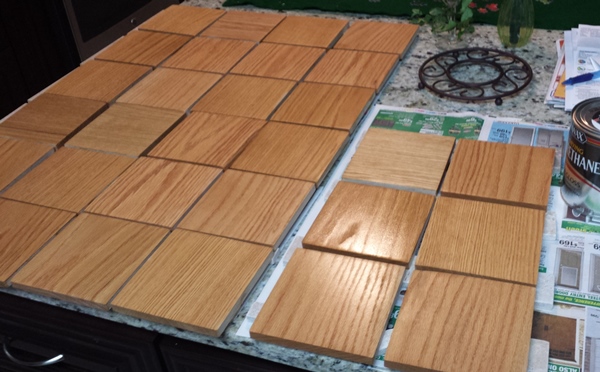
- Do one final sanding of the front & backs, wipe down, and apply your first coat of Polyurethane or stain. I would suggest Polyurethane in keeping with the traditional letters, but hey nothing says you have to stick with tradition – light colored letters with dark tiles???
- After allowing it to dry, lightly sand with 220 grit paper & apply at least one more coat
Lettering:
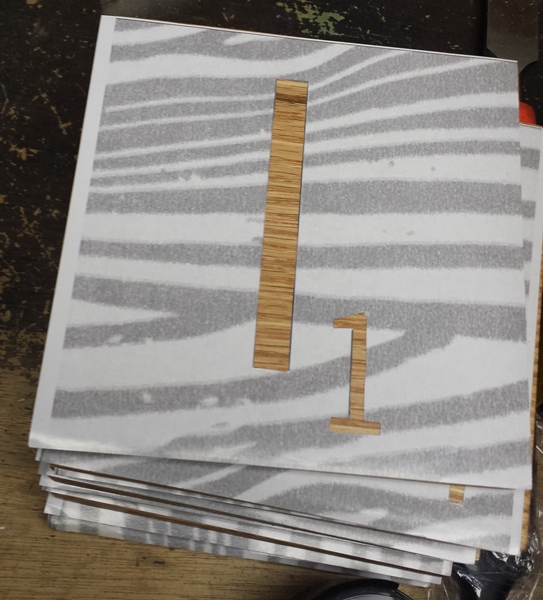
Needless to say there are numerous options to do this, with that here are some of my thoughts, issues, & what we finally ended up going with.
- I got to say, my first thought was routing out the letters but I couldn’t find a template to do that with.
- I dismissed using regular paint or darker stain as I was afraid it would bleed over. (Quick Trick: if you want to go this route, consider using a faux painting trick and utilizing an acrylic gel medium to help seal the edge of self stick template)
- One can simply cut out the letter & apply it to the wood (see bottom left) I would say this can get pretty tricky & generally won’t last as long though you might try adding another coat of poly over the top
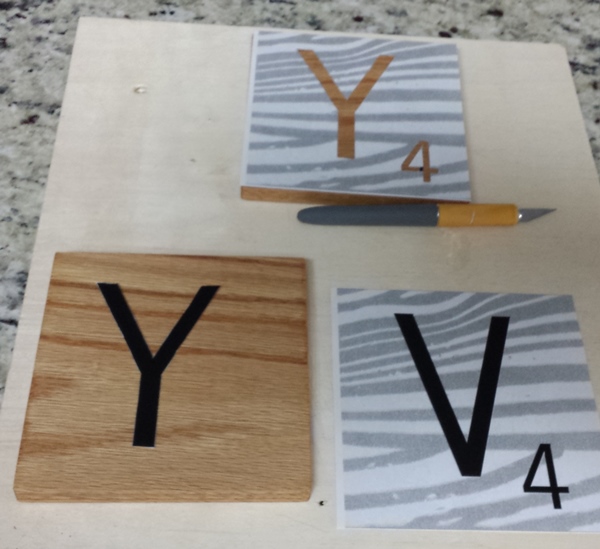
Heh – don’t try this one (without using the trick above) – I thought spray paint might be a good option – light coat, dries quick… one shouldn’t end up with bleed through right??? Yeah there was a lot of sanding & resealing going on after that
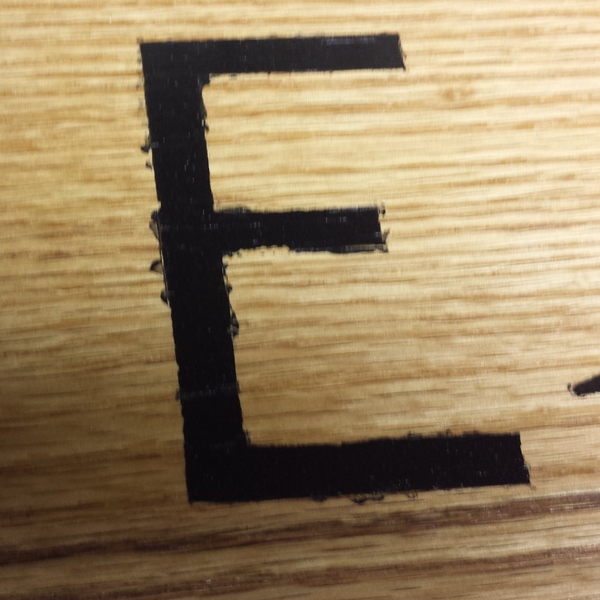
Final trick – a permanent marker was used
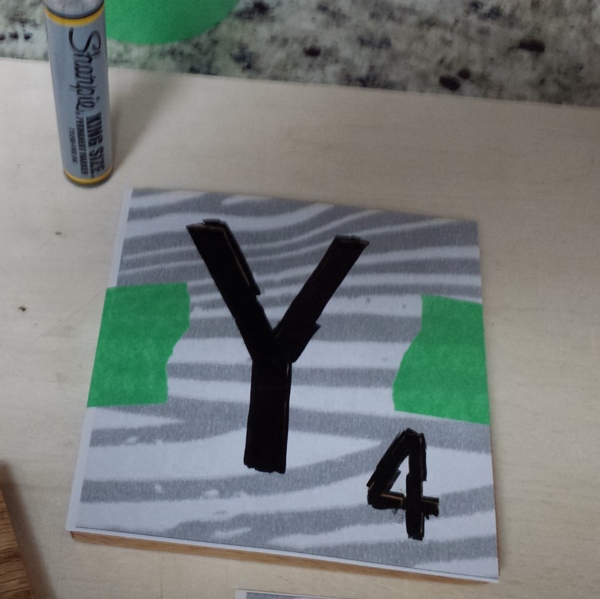
Quick Tip: Letters like A, B, D, R, & O along with numbers like the 4 above can be tricky – if you look at the first pick you can see how I solved the dreaded cut out & that is by leaving a portion of the original piece in place to hold the interior section where it belongs. Now instead of trying to hold that small piece to get it just right you only need to fill in a small area.
Hanging the tiles:
While one could choose to use metal hangers trying to get everything perfectly lined up can quite honestly be considered a nightmare. While I did originally plan on using brads to hang them a friend said we ought to go with the Velcro shown below, it would really hold things well…
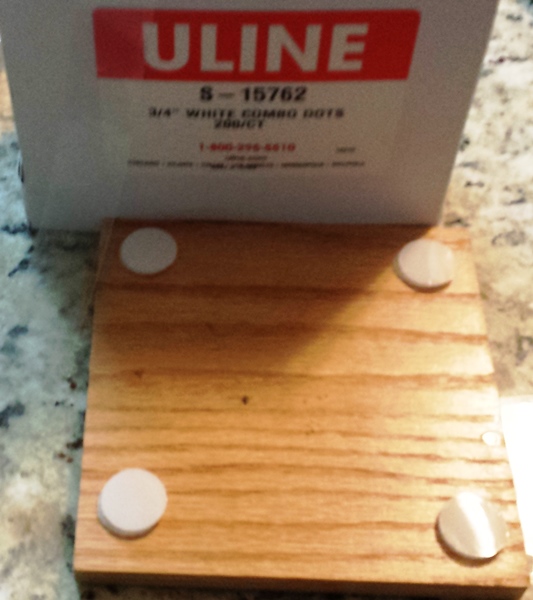
Well he was right – Now as for the finished product, well watch for the final reveal in mid December (he was a few weeks early 🙂 ).
