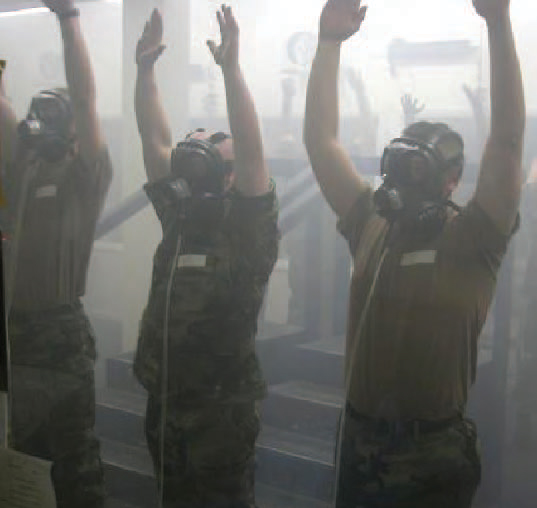
 In this article, we are not going to delve into which filter is for what, when you should use one or when a dust mask may be sufficient (we will get to that in a future article) , but one of the most overlooked facets of them – how to properly care for & store one. While using the proper filter is important, if you have not taken care of this piece of equipment, the filter is not going to do you much good.
Before you start:
- You should make sure that it was properly cleaned before and if need be wipe down the inside at a minimum
- Make sure you have the right filter that fits and screw or clip it in place (yes there will be a future article on this)
- Make sure that there are no holes, cracks, or any other signs of deterioration that could interfere with its performance
- Place it over your head & secure the straps properly
- Test the air-tightness by covering the filter & trying to breathe in – if not readjust as necessary
Picture – nope, I missed getting my picture taken that day – but I can tell you it was not fun, especially after they make you take the gas mask (aka still a respirator) off in the house that is filled with tear gas. Yes, we made sure they were on securely before we went in and they worked great, unfortunately the DI’s remembered that we were supposed to take them off. This was to help us develop faith in our equipment & sink in the lesson on why they must be maintained properly.
After you are done with it for the day, you should follow the following five steps:
- Remove the filter & follow the manufacturer’s instructions (Many with a useful life still left require that they be stored in an airtight baggy until their used next – i.e. carbon filters)
- Clean and disinfect the respirator & band according to the manufacturer’s instructions or at least wipe it down with a damp rag, and allow to fully air dry.
- Re-check it for signs of deterioration or any other problems that could interfere with its performance.
- Make sure you store in a safe location that is protected from dust, light, extreme heat / cold, moisture, &/or chemicals. (See Safety Sunday article: Bag Your Gear)
- Place the respirator so that rubber and plastic parts are in a normal position and hold their shape.
General Guidelines for when to replace filters:
Particulate Filters are designed to filter out dust, mists & certain fumes (generally the type used for work around the house, RRP work, etc…):
- These should be replaced when either the respirator label or pesticide label requires it
- OR earlier if breathing becomes difficult
- OR earlier if the filter is damaged or torn
- OR at the end of the day (most companies policies / or lack of info)
Chemical Cartridges are designed to filter out gases (generally not something you will need around the house):
- These should be replaced when either the respirator label or pesticide label requires it
- OR when odor/taste/irritation is noticed
- OR at the end of working day, in the absence of any other instructions or indications
- Side Note: Most individuals will replace them 30 minutes to an hour – before it is due so that they are not exposed to any irritation at all, but depending on the concentration in the work area, you may not have as long as listed
Additional Info & Websites:
Tool Box Talk: In this case the article above – you may also wish to review when the filters should be replaced so they are not being tossed unnecessarily. As you may have noticed, we included the general industry policy on replacing them at the end of the work day which in some cases is not necessary & can be expensive if left unchecked.
OSHA 1910.134: Respirator Cleaning Procedures
