One of the lessons we quickly learned was when one builds a work bench and you don’t want issues with sagging, it is best to utilize a box beam (aka torsion box) type design. While I didn’t have a work bench that needs to be built, we decided that we needed to add a built in desk in our kitchen which was just perfect for a how-to.
 A Box Beam header is well known in metal framing but is just starting to pick up steam in regular wood framing especially with todays newer energy codes. In essence it is regularly framed section above a door or window which utilizes 1 sheet of plywood that can span the section on the interior & exterior. So why does a box beam header that is designed to handle loads from above work so well on it’s side? Well in essence it is because it is still a box beam. A Box Beam header is well known in metal framing but is just starting to pick up steam in regular wood framing especially with todays newer energy codes. In essence it is regularly framed section above a door or window which utilizes 1 sheet of plywood that can span the section on the interior & exterior. So why does a box beam header that is designed to handle loads from above work so well on it’s side? Well in essence it is because it is still a box beam. |
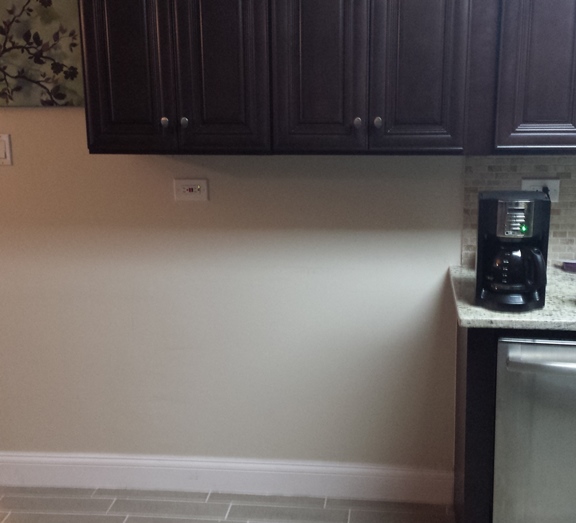
The last part of our kitchen remodel – the desk location
While I would typically utilize full 2×4’s for a workbench that wouldn’t work for the desktop – in this case I wen’t with 2″ – couple this with 2 sheets of 1/2″ ply that leaves a 1/2″ overhang for the final piece of trim.
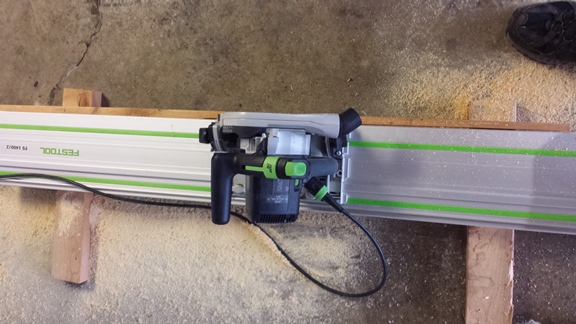
After ripping the pieces to the proper width I quickly cut them to the proper length
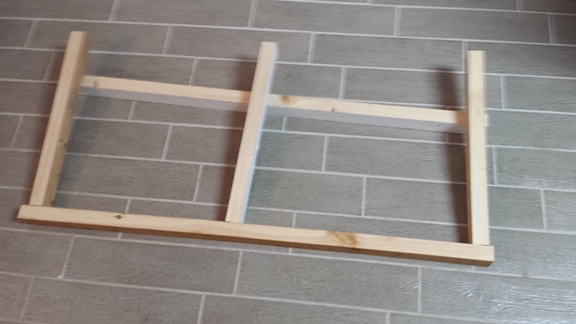
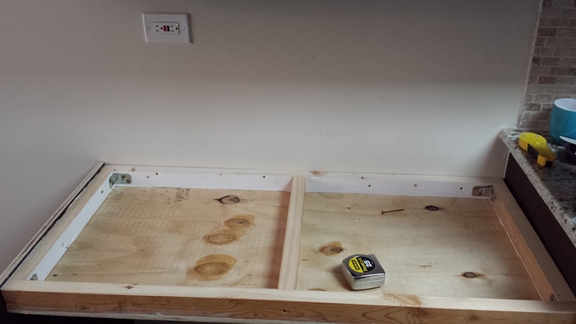
In order to eliminate any splitting issues I utilized some corner pieces for the end corners. For the center piece I simply used a deck screw for each side
Utilizing liquid glue and some deck screws we screwed the plywood to the frame. QUICK TIP: Use the panel to square up the frame – screw one end off completely flush and then adjust the frame and continue to screw it off.

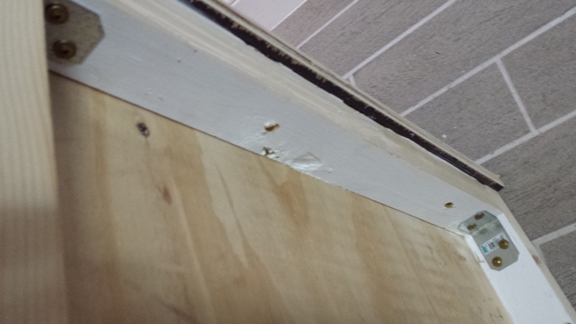
I left the top open so I could attach the side panel…
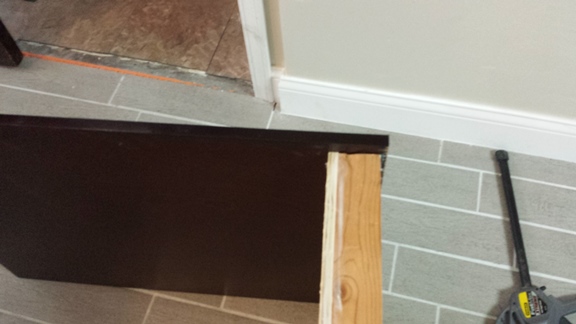
… level & attach it to the wall
I finished it off by adding in the front piece (a little glue & a few 2″ screws) followed up by the top sheet of plywood. QUICK TIP: While one could use nails, I prefer to utilize deck screws to help ensure it is pulled tight and does not have a chance to work loose (nails are meant for lateral loads not to resist pulling out)
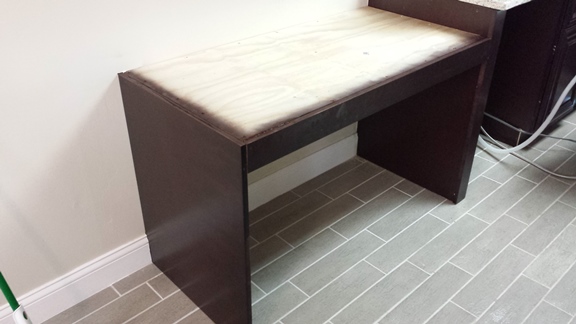
Wonder why the top is spray painted? That is one trick I picked up a while ago to help prevent any issues with water wicking in. While I don’t expect any issues some things are just hard to shake
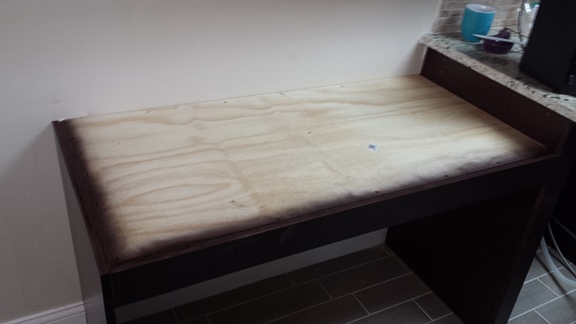
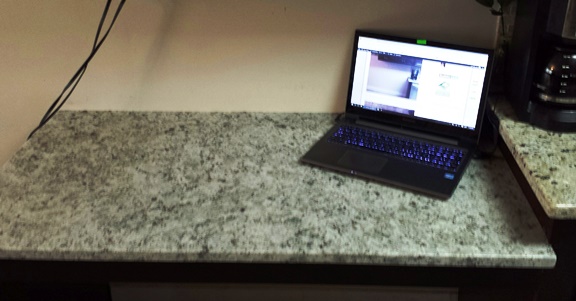
Now all I need is the granite to finish this off – if this was a workbench I would add a sheet of sacrificial Masonite on top (simply counter screwed in for easy removal)
Update – The Final Product: as an FYI, I installed it directly over the plywood with a few dollops of silicone

The spray paint is a good tip. Will you refresh the post when it’s finished?
Many thanks Bridgett & yes I will be though it might not be for another month or so – we got to find a similar piece of granite remnant to use
Tricky!