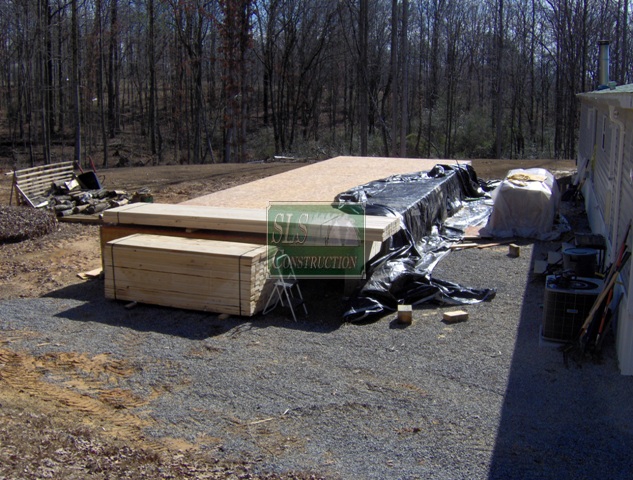
 In this series on Looking Back & Looking Forward, we are reviewing a green home we built over 2 years ago, the lessons learned and more importantly, how we can (or even how you can) utilize those lessons on future builds. In our last article on footing & foundation system we used, we explained why we were going with a Post (or Pier) & Beam / Raised Floor system. In this article, are going to run through the whole process starting from the footing’s up to the installation of the sub-flooring.
 The Footings:
Once we had our Bigfoot System® Footings in place, we attached Simpson Strong-Tie® 8×8 Post Base Anchors (PBA) to them. The PBA’s actually do quite a few other things for us besides tying the Posts directly to the footings; they are crucial to help keep the wood away from concrete. They also make it harder for termites to get to the wood and easier to spot if they try. Once we had them all locked down where we wanted them, we double-checked to make sure it was square & made sure it was perfectly parallel to the house next door.
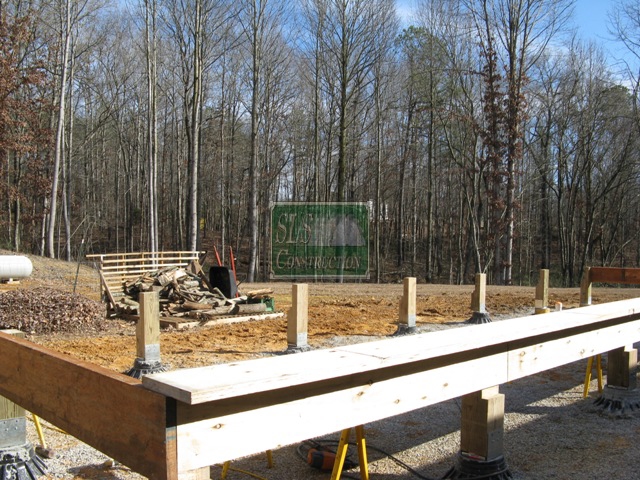 The Post & Beams:
The Posts in this case are 8×8 Ground Rated Pressure Treated Pine. After some careful measurements, we simply notched them to handle the 11” & 14” LVL’s we are using for the beams. Once they were notched, we treated them with the proper preservative to help prevent any possible moisture issues & secured them to the bases. Once we secured them to the bases, we got to the real fun part, creating and installing the beams. As you can see from the picture, we were able to “sister” together the two LVL’s with plenty of glue & LedgerLok® screws. By doing it this way, we actually have a stronger beam than one that was already the same width, and it saved us from needing to bring in a crane. Once it was all together, we rechecked it for square and bolted the unit together.
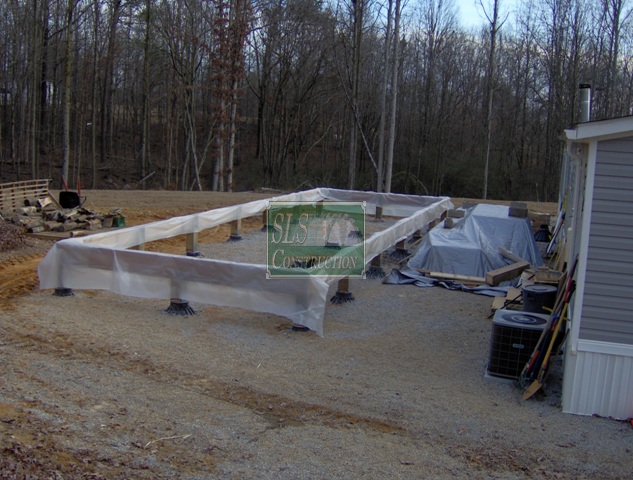 The Layout:
It constantly amazes me, how many people skip this next step & simply start installing the floor joists. While one might assume the architect or designer, has made sure that the joists will not interfere with any of the mechanical systems, or that everything is laid out properly – this is generally not the case. Many architects out there, either do not worry about this, or simply stamp VIF on the plans. (VIF stands for Verify in Field) While many of us, pre-check everything on the plans and notice possible areas of concern, occasionally we run into issues with out of level, out of square foundations, followed by a homeowner wanting a “simple” change made. In our case, you might notice those three little forms in the center of the building – well we will get to those later…
The first item I do is to start marking out where the walls will be located, followed by the locations of the different fixtures, and then where the joists will be. The reason to mark out where the walls will be located is to make sure it the wall will be properly supported with blocking. The first reason is that while I do not mind hard work, I do not want to have to work harder than I need to & putting the blocking in before the subflooring is a definite win-win. Now I have seen planet of builders that claim that a non load-bearing wall does not need blocking & that the subflooring will adequately support it – bull. First, if that floor ever gets wet, it has lost its strength, secondly that wall may be eventually holding up more than its weight (i.e. pictures, over the toilet cabinets, homeowner installed cabinets, etc…).
The fixture locations are important for numerous reasons, but let’s simply go with the biggest problem – The plumbers. If you have a floor joist in the way of the toilet flange or any other drain locations, you can imagine what is going to happen to that floor joist. If you plan ahead, you can possibly relocate the joists by an inch or so, but in most cases, you will need to properly box in or header off that area. Not only will the majority of the plumbers thank you, you have eliminated numerous other issues.
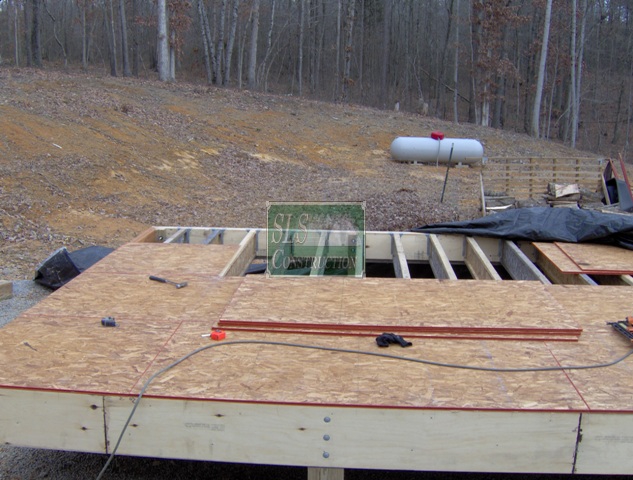 Installing the joists:
In our case, we were utilizing 11” I-Joists spaced @ 16” on center. Ok, I can already see the questions pouring in – couldn’t you have just used 9” I-Joists, why not 2 x 8’s or 2x 10’s, why didn’t you space them out to 19.2 or 24” OC? First, for all the OVE (Optimized Value Engineering) framing fanatics, out there – you can wait till the next article. For everyone else, while there are numerous means and options of framing a floor, it needs to do a few things and do it well. First, it needs to be a stable base for everything to come, it needs to be able to support all the loads placed on it, and it has to last / be durable. The joists spec’d and installed, met all those requirements more than adequately.
I would like to add one more item – all floors should be built to handle more than one type of flooring. Sure, you might be installing carpet and vinyl at this moment, but what happens it they want to install Ceramic Tile or hardwood later? What happens if they call you back to do it? Would you like to explain to them why the current structure doesn’t meet deflection standards, or why the wood floor is always squeaking, or the tile floor is always cracking?
 Installing the sub-flooring:
Once all the joists were in, we did one last check to make sure everything was square and parallel. Out came the ¾” T&G OSB sheathing – Tongue and Groove Orientated Strand Board – to be installed. While we firmly believe in using screws in most of these installs, this one didn’t require it, allowing us to simply glue and nail the sheathing down in very short order bringing us to our next article on Framing.

Many architects out there, either do not worry about this, or simply stamp VIF on the plans.
Thank you for this great idea!
Thank you for this great idea!
Many architects out there, either do not worry about this, or simply stamp VIF on the plans.