Last year’s gardening attempts were a disaster at our place, mainly due to our busy schedules. While we managed to get plenty of squash and a few other vegetables from it, most of the crop was lost to the pasture grass that simply overtook the garden. We are going to alleviate that problem this year by utilizing a raised gardening bed system. If you happen to have a couple of hours to spare, you can easily create your own. I based the steps below on a normal yard with semi- flat ground utilizing one simple 48 SF raised bed.
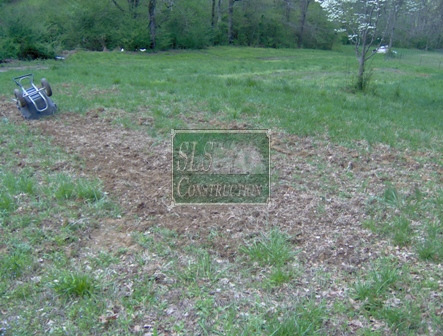
- The first step is determining where you want your garden to be. The flatter the ground is, the easier the process will be. Unfortunately, my wife chose a sloped area that necessitated a few work arounds, which I will discuss in the next section.

- Layout the area for the bed(s) — Raised beds should not be any wider that four feet, with a minimum of a two foot walkway in-between them. Common lengths are 4’, 6’, 8’, 10’, 12’, and 16’.
- Remove the grass and other items from the area where the planter bed will reside – a flat shovel works great for that, or you can rent a sod cutter. You can leave the grass for the walkways to help keep down the mud and other issues.
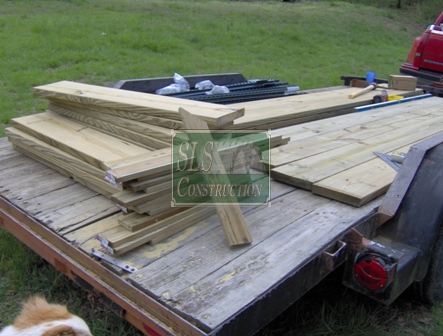
- Time to head to the lumber yard
- You will need 3 – 2×10’s or 2×12’s @ 12’ long (pressure treated)
- You will need 1 – 1x4x12 (pressure treated) for staking the box to the ground
- 1 pound of 2 ½” deck screws (not the cheap “exterior screws”, nails, etc.. but actual deck screws)
- Mulch or potting soil, if you have some at your house, great – if not you will need 36 Cubic Feet to add 9” of suitable planting material in the planter
- Cut one of the 2×12’s and the 1×4 into 3 – 4’ segments – next cut the 1×4 section in half at a 45 degree angle – you may wish to make one additional cut to make a cut that looks like this ( > ). This will make it easier to pound it straight into the ground.

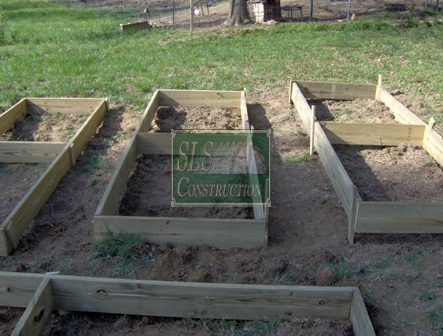
- Bring the materials over to the build area and start assembling – 2 of the cut 2×12 sections are for the ends and the remaining one is for the center – keeping the pieces flush with each other, use three deck screws at each connection point
- Check to make sure that the exterior of planter box is below ground level by at least one inch and that the box is level and square. This should help prevent any major issues that may arise due to a rainstorm, etc…
- (Optional) Depending on your ground conditions, you may want to aerate or till the ground inside the box, add slow release fertilizer, or other amendments.
- You should have 6 stakes, that should be pounded into the ground at the 4 outside corners and on each side of the center support (as a reminder, this area was not level & we will discuss those options below)

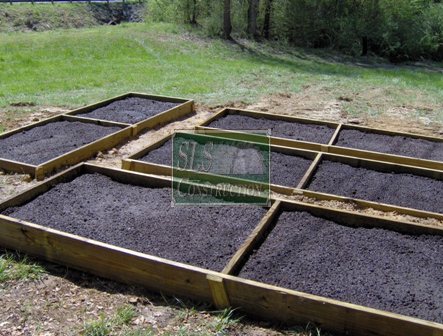
- Add the planting soil, level & start planting

My ground is sloped, what should I do?
There are a few ways of still creating a planter box in a sloped area; one is to dig out the ground till it is level, you can always add more boards (not recommended for the system above unless you add more stakes), or you can build up the dirt level on the exterior like we did in these pictures.

Great stuff. Perhaps a little off topic, but would you mind if I write something about this on my tomato plant blog? I will of course, cite original source and link back to your page.
I have no issues with that – nice blog
Great stuff. Perhaps a little off topic, but would you mind if I write something about this on my tomato plant blog? I will of course, cite original source and link back to your page.
I have no issues with that – nice blog