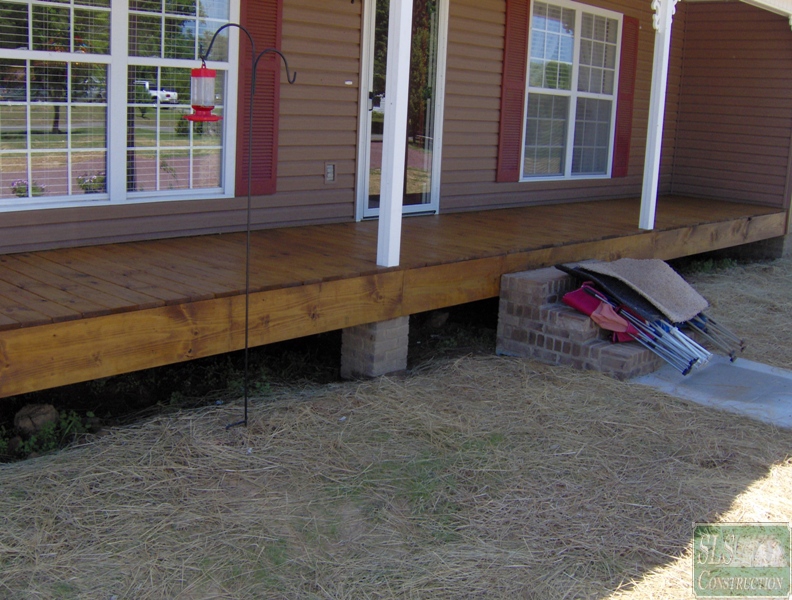
 If you have been following along with our articles on Deck Maintenance we have covered almost everything from inspecting your deck, regular routine maintenance, to choosing the proper product for sealing you wood decks. This now leads us to our final article on how to properly install the sealer of your choice. I have two simple rules that I hope you will keep in mind – prepare it properly and follow the manufacturer’s directions.
Prepare it properly:
If you ask any professional painter, they will say that on average 80% of their time is spent on properly preparing the surfaces, while only 20% is actually spent applying the product. Fortunately, in most cases, this ratio only applies to painting a house, not sealing your deck. So why am I bringing up this formula if it doesn’t apply in most cases? The answer is quite simple, while you may not spend 80% of your time getting your deck ready, you will still need to spend a good portion getting it ready. Please remember that the amount of time spent getting it ready, is time well spent.
Getting Ready:
- Remove everything located not only on the deck, also from around it like the furniture, potted plants, wind chimes, etc…
- Cover any plants near the deck to protect them from the overspray & any chemicals you may use.
- Gather all the tools, safety equipment and materials that you will need. Take time to read the directions.
- Removing any large debris by hand and sweep the deck off, paying particular attention to the area’s between the deck boards
Trouble Spots & Cures:
- Loose deck boards – nail them back down or better yet use deck screws
- Nail pops – nail them back in just a fraction below the surface
- Rotted or majorly cracked deck boards – replace them
- Loose handrails, balusters, etc… – Tighten them up or replace as needed
- Splintered wood – either sand it down, replace it, or cut out the splinters
- Grade stamps on the wood – there is no real way of removing them as this is a permanent ink applied to the wood (A few cures)
- Replacing the offending piece – this works, but is expensive & will result in a delay while you wait for that piece to dry out properly
- Turn the piece over – this also works, but you might have issues with existing nail holes, damage on the other side, etc…
- Sand the mark off – sometimes the ink does not get absorbed to deep so sanding it off may work. In most cases, you will only be able to eliminate the brightness of it. In either case, you will need to sand the rest of the piece so it accepts stain evenly
- Paint the deck or use a darker stain – in the case of paint, your problem is over but you know are stuck painting the deck boards from here on out. As for darker stain, that will only make it a little harder to spot (see attached pictures)
- Existing finishes – If you have an existing deck, the steps will vary but I would first recommend starting with this article on Deck Cleaning. The main issue with an older deck is to get it ready to accept new stain or paint. If you have an existing painted deck, you will have to scrape away any old loose paint.
- Brand new wood – while this may not seem like an issue, you should consider utilizing a combination Deck Cleaner & Brightener to help clean up any leftover manufacturing chemicals or containments picked up during transport or installation.
- Dull, moldy, or stained wood (inc. our famous red clay) – as above, consider utilizing a combination Deck Cleaner & Brightener or a specialized Concentrated Deck Cleaner
Applying your choice of Sealants:
Do you remember the second rule above? That’s right; it’s as simple as reading and following the manufacturer’s directions. I will give you a few tips though that may or may not be located on the can.
- Apply plastic to any area’s that you do not want stain or paint to get on, because once you get started, you do not want to stop to try to clean up an oopsie
- For all stains and sealers, do one complete board at a time – if the you only do half a board or work in sections, you will end up with obvious streaks where the two area’s overlap
- Do not over apply the product – in most cases it will result in a flaky or splotchy finish
- Make sure the moisture level of the wood is low enough for work to commence – you do not want to trap all the moisture inside the wood
- Stain or seal all six sides if it is at all possible unless you live by the ocean. This will help prevent moisture from getting into the wood and accelerating the degradation of the finish. Why not around the coast – The salt will deteriorate the top coating faster, which will then allow the wood to soak up the water and not give it a chance to escape.
- Let it rest – most paints, stains and sealers take at least a day or more to cure

Hi,
i liked Applying your choice of Sealants:
Hi,
i liked Applying your choice of Sealants: