Self stick tiles are some DIYer’s best friends but also the bane of many with tiles coming back up, not lining up, etc… Here are a few tricks that should help you succeed.

- Proper prep is key – you should never go over other tiles especially if there are issues with them
- Whatever the substrate (in this case luan plywood over the subfloor) needs to be firmly attached to the subfloor / joists
- Yes you can go over the subfloor if it is on good shape
- Quick rule of thumb – 1 tube of liquid nail & 1/2 a box of ring shank underlayment nails is needed per sheet
- Undercut any remaining trim (door casing / jambs) giving you room to slide tile under
- Make sure all nails are set & the floor is spotless, especially around the edges (vacuuming is good insurance)
- Double check your layout & if needed snap lines before hand
- Seams should never land on seams
- Think about cuts that will need to be made – better to be able to take a corner off than having to cut into the center & wrap or slide around items
- Sure it is “self-stick” but applying “VCT” adhesive makes it almost bullet proof
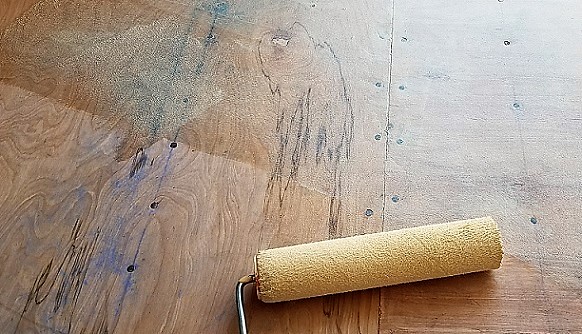
- No need for a trowel, just use a 1/4″ knap roller & apply a thin coat
- It needs to dry clear before installation

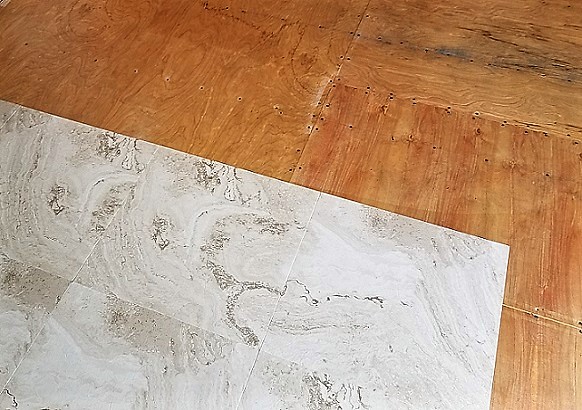
- Your first four – the box are the most important, you get those right & you should be good
- Fan out or work in rows but don’t jump ahead & work back towards others
- Most walls / baseboards, cabinets are not square so leave a gap & cover with base shoe
- For most tiles you can simply score them & they will break cleanly for straight cuts & even for corners
- A heat gun is great for softening up the tile making cuts easier or to help mold around an item like a support pipe
