 In our area, some code jurisdictions are now requiring a “multi-point” blower door test, instead of the more standard & improved “single-point” test for code compliance verifications. For many that have undergone just BPI training or were trained before RESNET adopted (802.6) this as another “verification” protocol many have a deer in the headlight look. While I personally like the single-point due to its speed, this one can come in very handy when conditions are not so conducive for performing that test.
While Retrotec has produced a new software program (Data Logger) for being able to automatically performing this test, I actually use Energy Conservatories (EC) TecTite program. As you may recall from the prior piece, that is because many of these code jurisdictions in my area require either the TecTite report or the “.bld” file produced by it. Below are many of the steps for manually entering the data & performing one properly. Note: if you happen to be using EC’s equipment, make sure you refer to their directions for “automatically” having the software run this test, it is a lot faster & the chances of having an error are greatly reduced.
Setup:
This is the welcome screen – click File & New Test (TIP: to speed up entering, you may want to create generic Tests for your different clients & save them. Then when you have one for them copy it & save it as a new test & simply open up that file)

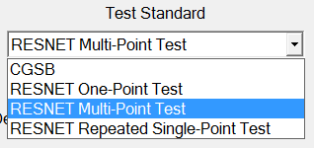 Choose your Test Standard: In this case, my default is saved as multi-point to meet RESNET standards. One can also do a single point, but I prefer to use my smartphone app for that.
.
.
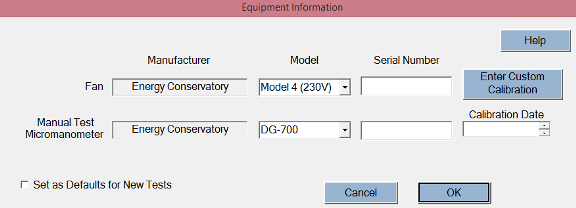
Double check your equipment, as I am using Retrotec equipment I selected the equivalent that is as close to the equipment I am using. As for the Serial # & calibration date, that should be filled out & mine is – in this case I blanked it out.
The Building Test Information screen –
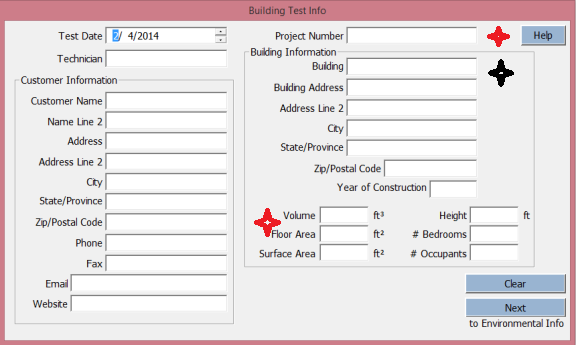
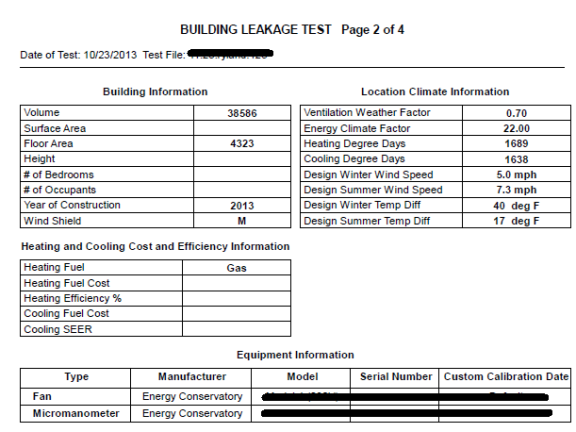
The first red star is generally a good spot to use a standardized name you use for all projects, while the “Building” spot (black star) is a great spot for permit / lot & sub division information – which depends on your AHJ & Builder. If you want a meaningful report, make sure you fill in the volume & floor area (second red star.) The rest of the information is up to your discretion & is used for mechanical ventilation calculations which is not required for this test.
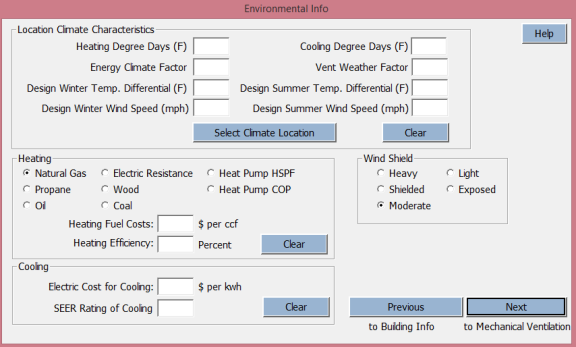
None of the “environmental” info is required for the test. If you are doing “Home Performance” consulting & / or contracting on existing houses, it might be worth filling out to calculate how much the leakage is costing you. There are two other screens after this; mechanical ventilation & then comments. As I am not calculating mechanical ventilation needs, I simply skipped it. In the comment section I generally add in that I am using Retrotec equipment & that
Testing:
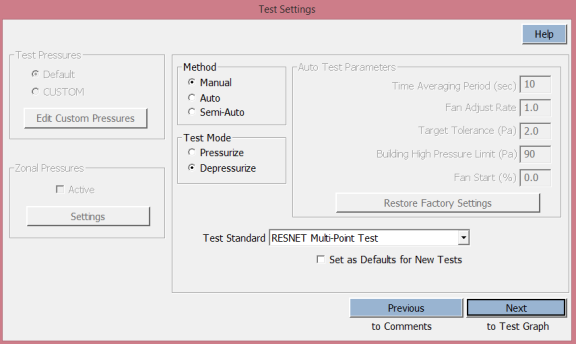
As mentioned, my default is set to manual & like many, I choose the depressurizing option for testing.
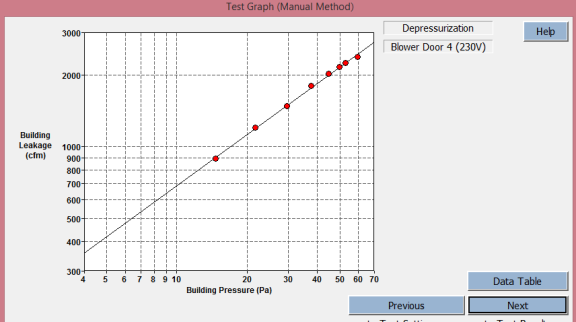
Clicking next will generally bring you to a blank test graph whereas I chose to finish this with a completed one. From the “blank” chart – select Data Table
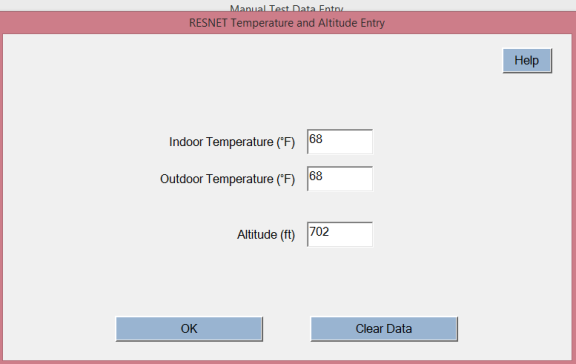
This now brings up a “blank” data entry screen where you will see a “Enter/Edit Temperature and Altitude Box” which you need to click. That will bring up this screen which you should fill out properly. Once completed click “OK.”
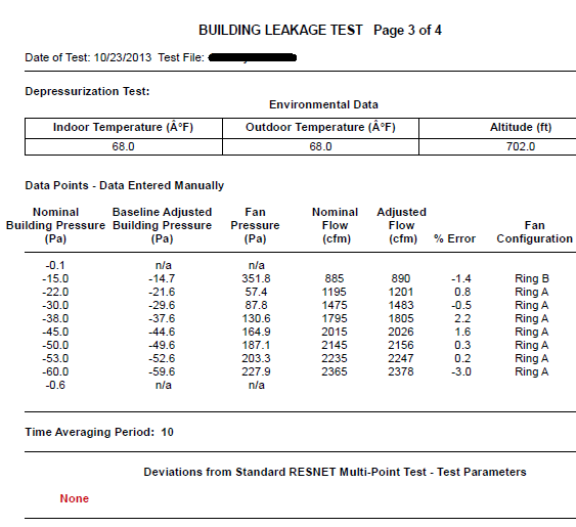
This brings us back to the Data Entry screen. With your blower door in place & ready to go, enter in your “Pre-Test Baseline.” (Red Circle) Unlike how many of us where trained, you would hit the baseline key, wait 10 seconds or so & enter the number here. Once you do that EXIT out of the baseline measurement.
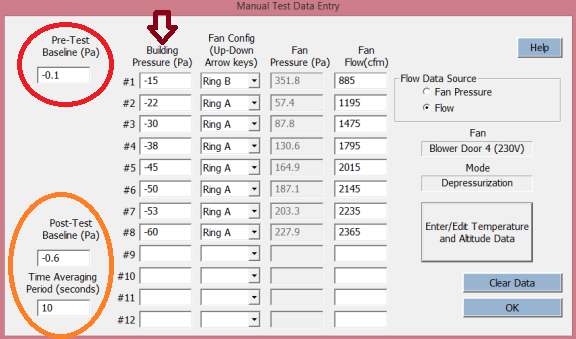
In order to perform a multi-point you are supposed to verify you can get up to 60 PA & then run 7 “unadjusted” measurements equally spaced from 15 PA to 60 PA. I simply chose the following pressures & utilize them each time (maroon arrow).
After you have completed the tests (changing rings as required), you should leave your blower door in place, place your covers back on & grab a “Post-Test Baseline.” (orange circle) You should be utilizing 10 second time averages, but if you are not or need to use another, simply fix the final box. Once you are happy with the data you should end up back at the chart / test graph screen.
The Reports:
Generally I simply save the test & email the “bld” file to the Building Department & simply let the builder know the result. With that some like getting a “report.”
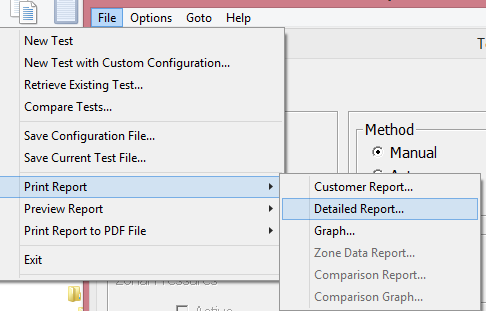
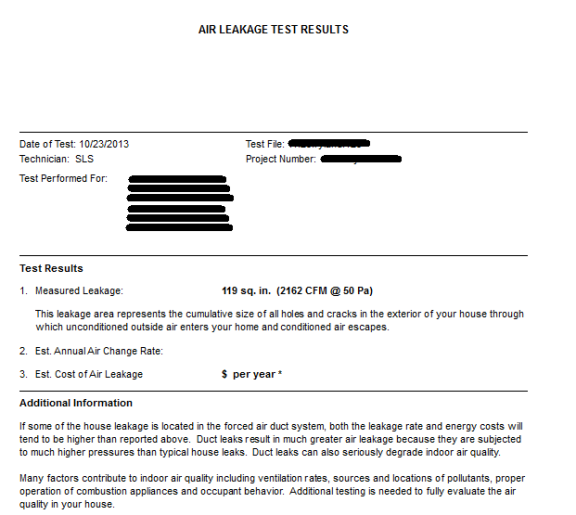
This is what a “customer” report looks like, which might be good for a homeowner, but not so hot for a builder or building inspector.
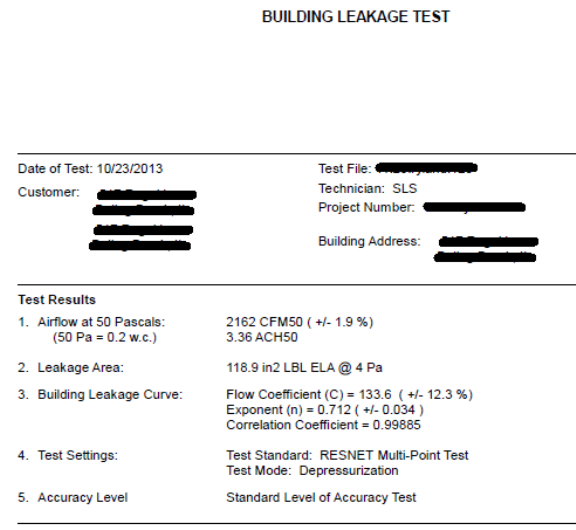
There are 4 pages to a detailed report with the last page just showing any “comments” entered into the program. This is what page 1 looks like (with the ACH number, etc…):
Page 2 (with the only applicable data being the volume & floor area):
Page 3 which contains the actual & adjusted flows):
