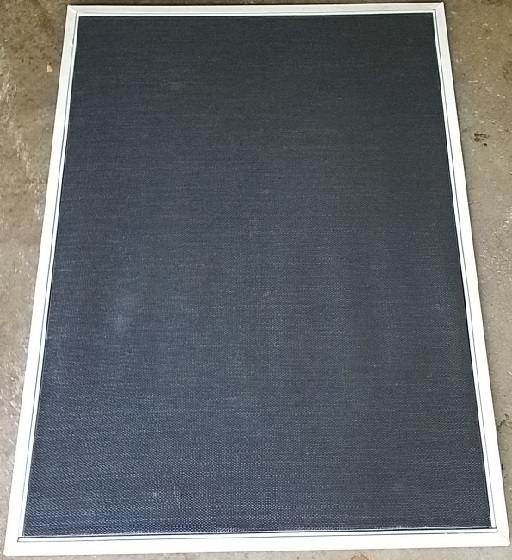
In the August Homeowners Maintenance Checklist we mentioned checking your doors & windows which of course includes the screens. One good reason to do it now is this is the time when many of us like to throw open up the windows & let some fresh air in, preferably without the insects being able to invade. Ah, but what if you have an issue with one or maybe more than one? Is there a quick fix or should you bite the bullet & just rescreen it? How do you do it? Shoot maybe your house is like mine & you have some crazy screens that don’t have a traditional rubber spline, rather it’s metal – do you need to replace the whole screen?
Types of screening:
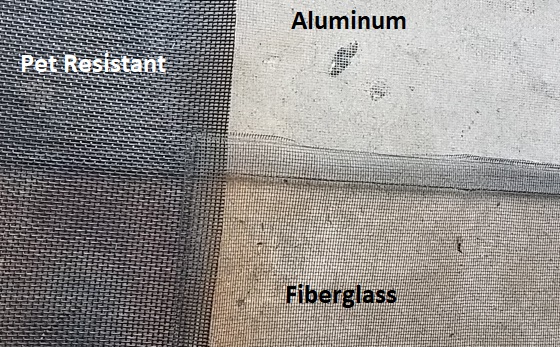 There are essentially 2 basic types of screening materials; aluminum & fiberglass. I know, wait I see three types there, what’s up with that? The one labeled “Pet Resistant” is a specialty offshoot or option based off the fiberglass type.
Aluminum:
Aluminum was the original screening material and still has many people that swear by it and will only use it if given a choice (UV resistance, strength, viewability.) On the flip side there are many that swear about using it as it is harder to work with.
There really are not to many options with aluminum though they can occasionally change the color, use thinner strands (so it appears more invisible), slightly thicker (stronger), or even make sun shades out of it.
Fiberglass:
Fiberglass is the easiest product for a DIYer to work with & has a ton of options like the one listed above – Pet Resistant. They also make an “invisible” type product and a Sun Shade / Blocker. There also is a product out there for allergy sufferers that will help block pollen while allowing air in. One bad thing about fiberglass is that once it is ripped or damaged you are pretty much looking at a rescreen.
Splines:
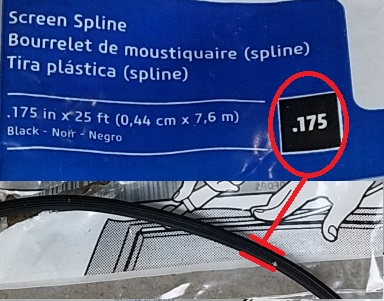 There are three parts to a screen assembly; the frame, the screen, and the spline which holds the two together. Almost everyone knows about the rubber spline, it just gets confusing figuring out which one to use. The number I circled below refers to the diameter of the spline which is meant to fit in the groove with the screen. To small & it won’t hold – to large & it won’t fit.
Fortunately in most cases you can simply reuse the existing one though if it is deteriorated or if you are going with a thicker screen you might have to change it out. If you just need to change out the spline you can bring a piece with you to make sure you get the right one. If you are going with a thicker screen, you can still take the original spline with you, find it’s match & go with one .15 or max .25 smaller (check with manufacturer). No screen or spline, just the frame – you can try measuring or just bring the frame with you.
Got a metal spline – no worries that is covered towards the end.
Holey screen:
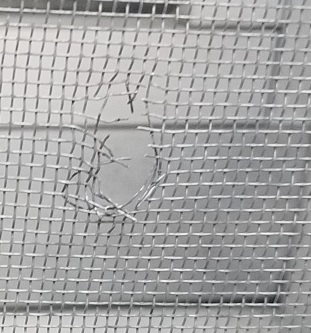 This is generally the biggest issue many of us face – a hole in the screen. I have seen people put duct tape over them, but that barely lasts and dare we say looks tacky.
A few other options I have seen people try is “screen tape” which essentially is a screen with an adhesive backing to adhere to the other screening. A few issues with that is making sure the color matches / won’t stick out but also how long will it really last especially being applied to a dirty screen.
Along the same lines, there is the trick of using left over screening & gluing it around the perimeter (mostly used for rips & tears) with a specialty adhesive. This one generally does better than above but you have an issue with a doubled up layer of screen & possibly seeing where the glue line is. There is a new variant where you “iron” a patch on which should theoretically last a little longer.
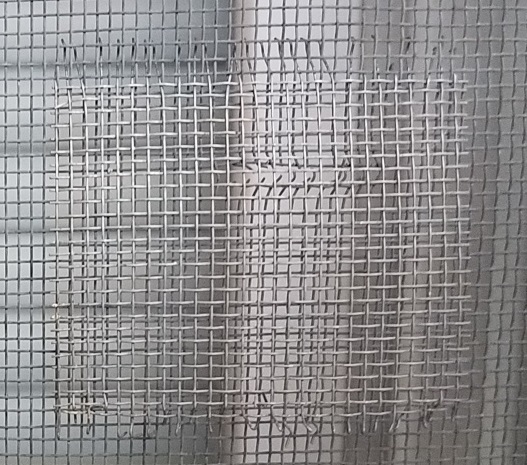
The best option if you only have one small hole in a screen is the aluminum screen patch – One can install a patch like you see above where it slides in & then you bend the tines over, but if you have big hands it can be a nightmare trying to get it sealed right. Most of the time it will match pretty closely & you won’t see the patch until you are close up. Got more than one or it’s really large – rescreening would probably be the best option.
Popped Out Screening:
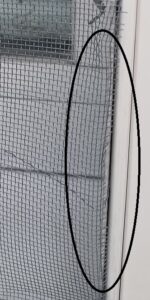 In this case you can see that the screen has popped out from the spline. If you have fiberglass you can try popping the spline in that area & streching it back in place but that can be difficult. (See Directions Below on Rescreening)
One tip for that is to pop the spline in the area, smooth out the screen and apply some shipping tape (about 1/4 on the screen side) & then folding it back over itself. Now you have a ways to pull it tighter & give the spline something to grab hold of.
In this case as it was aluminum much less with metal splines (yes we will cover this below) we opted to rescreen this one.
Rips & Tears:
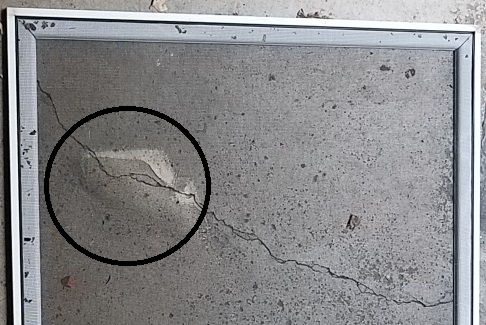
Yeah that sucks and while you might try the patch method mentioned above with a specialty adhesive, we would recommend simply rescreening it.
Rescreening a “Normal” Screen:
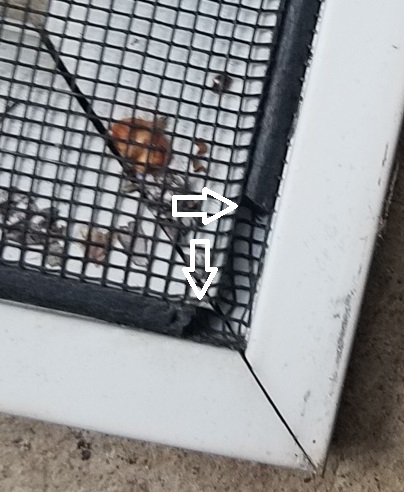 The first step once you have your screen out is to find the ends of the spline (as shown by the white arrows).
I generally use a utility knife and gently pry the end up with the blade tip until I can get my fingers in there to pull the spline out. Generally you can reuse the existing spline. Technically I should have replaced this spline as I was going with a thicker screen material but with a little perseverance and a little harder pushing I was able to reuse it.
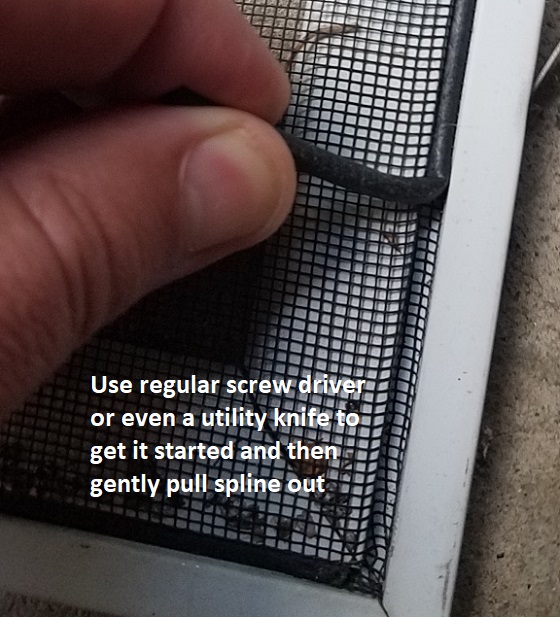
Generally you will have 4 pieces of spline (1 for each side) though occasionally (like mine) it was factory done and I only had one spline. I simply cut them in the corners as you will need 4 pieces / you don’t have a factory setup.
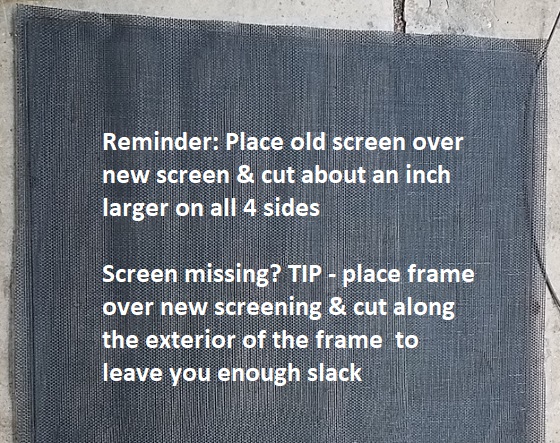
Once you have the spline(s) out, grab the screen & lay it over the replacement screen. You want to trim the new screen to be an inch larger than the old screen on all 4 sides. Oops the dog ran off with it, or maybe it was just missing all together – no problem, just place the frame over the new screen & follow the exterior of frame for the cut. Nervous it might not be enough, just add another 1/2″ to it.
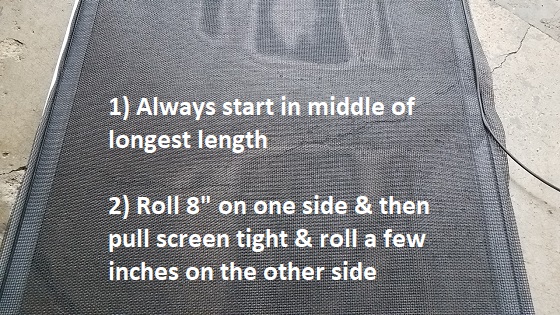
Place to new screen in the frame & center it. Starting with the left side, take the spline from that side & center it. Starting in the center, push in & rull up approx. 4″ towards the top & then work 4″ down. At this point I switch over to the right, pull it taut & insert 2″ of spline. Please note you can see in the picture below how it pulled it tight in the center & the rest is still loose. That is good, just be careful of pulling to tight & warping the frame.
Now go back to the left & lightly pull the top left corner snug & roll the spline into place. (if there is extra spline there, no worries just leave it for now). Still on the left side pull the bottom corner snug & roll from the center down. Switch to the right side & repeat. You can see how the screen should look once you hit the right side & have rolled it in place, while the blue shows how it should look before being rolled. IF you spot any wrinkles at any point, stop & back up, something is off.
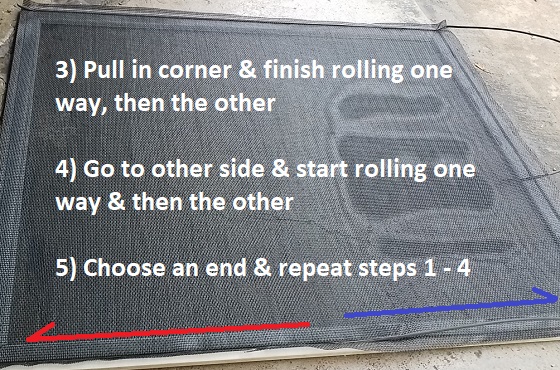
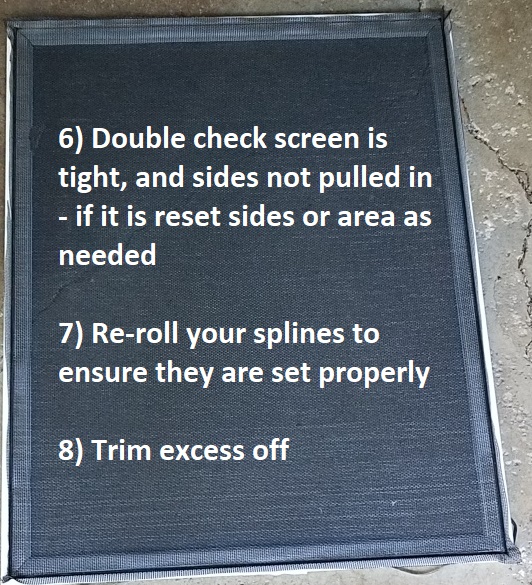
At this point, simply choose the top or bottom & repeat the steps above though no pulling should really be needed. Once you are done your screen should like below. I recommend checking to make sure your screen it is still the proper shape, no wrinkles, etc… At this point I would trim the excess of your splines and re-roll them to make sure it is set properly.
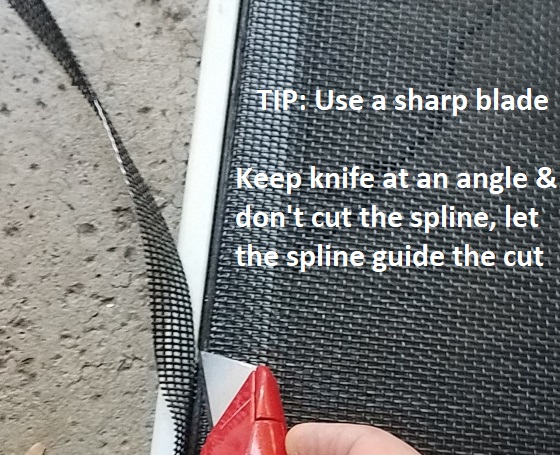
Using a utility knife with a sharp blade, simply trim the excess off – I generally hold mine at a 45° angle & let the spline guide it. Careful as you don’t want to cut the spline.
Roller Options / Tip:
There are three main types of rollers out there – unfortunately my wood one has gone missing so I had to settle for buying a new plastic version. Plastic is fine for one or two windows, doing a lot is not as much fun. The only saving grace for some is the plastic might be easier for some to hold – not me. How about the one that slices & dices… okay it has a built in blade for trimming the screen – really if you can’t trim the screen with a utility knife, you probably shouldn’t be doing this. The other catch is what do you do if the blade gets dull – buy another one?
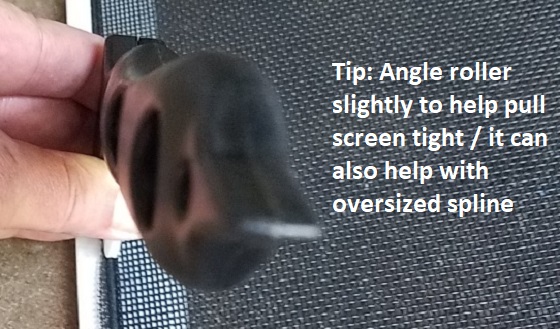
The other trick, especially if your spline is a fraction to large, slightly angle it in towards the screen instead of simply straight up & down – this helps pull the screen a fraction tighter.
Metal / Aluminum Spline Rescreening:
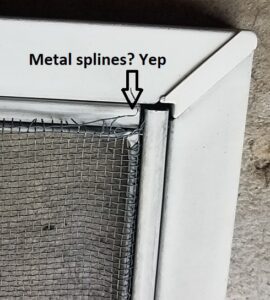 For many of us, including me when I first saw these on my house I had a what the frak moment. Well it is the original screens that came with the wood windows back in 76. I haven’t seen any manufacturers that still produce them this way, but I am sure someone might pop a comment in if they are. So are you screwed and have to replace them or can you rescreen them? Good news there is two ways to rescreen them, it just depends on how careful you are. Option 1 – reuse splines /// Option 2 – use rubber spline
As an FYI: the .175 spline I had, is probably a hair to small – I think a .185 or .190 would have been a better / tighter fit. I think it would have held but having kids that like to press on things… If I was going with a thinner screen – I definitely would have needed a larger spline.
Start here: Both Option 1 & 2
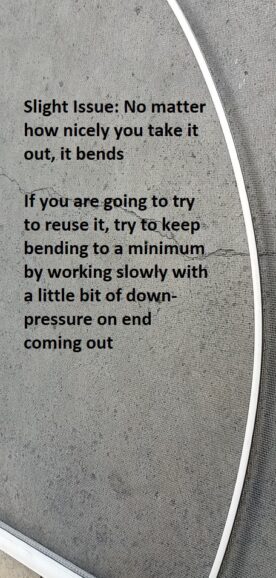
Just like above, find the end of your spline & lightly pry up (small screwdriver or 5 in 1 tool). Once you get it started slide your knife or screwdriver down a fraction farther & lightly pry up. DO NOT try pulling out with your hands as you are liable to crink it & then your options are down to one. Slight curve – no worries.
Do this for all three sides, and lay them off to the side based on where they went (assuming you want to reuse them). Now get your screen ready. No matter what option you are going with, we will start by using rubber splines. Don’t worry about the metal splines at the moment, we will install them but in order to get the screen tight .
Build your screen as above using a rubber spline but stop at step 6 if you want to reuse you metal splines (if just going with Option 2 – finish it off & your done).
Reusing the Metal Splines – Final Steps
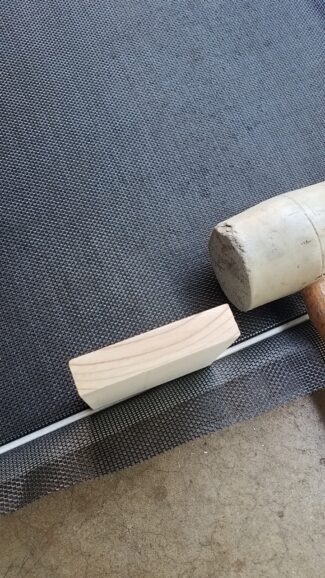 Choose a corner, any corner. Pull the rubber spline out about a third of the way and grab the proper metal spline. Insert it in the corner (or spot it should be) & lightly press down. It should start clicking into place. Now you can use a rubber mallet & small block of wood to help set it in place while moving down the screen. This will straighten the curve out and set it firmly – make sure you pull the spline out as you go.
Once you are done with the first one, grab the next piece & continue on. If at any time something goes wonky – stop & correct but being setup properly before that shouldn’t happen. Once you are done – finish following the steps from above & you are done. 