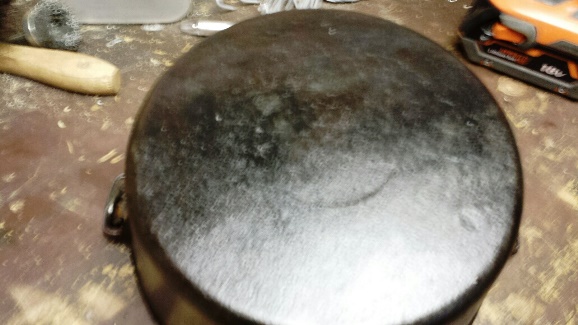
Cast iron is used in many products that range from woodworking tools like table saw tops to cooking pans and for many good reasons. The only downside though besides it weight is if one doesn’t take care of it, it can rust. In most cases a little surface rust is no big deal as there are plenty of methods out there on taking care of it that range from vinegar solutions, to salt rubs, to… Ahh but what happens if it goes beyond a little surface rust?
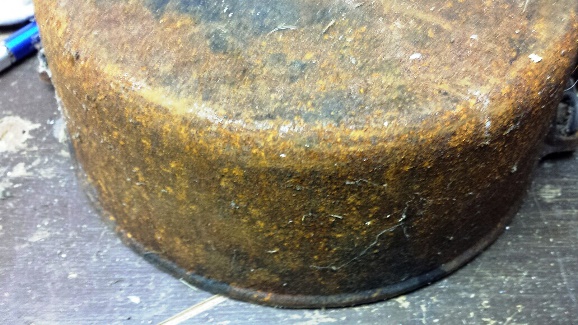
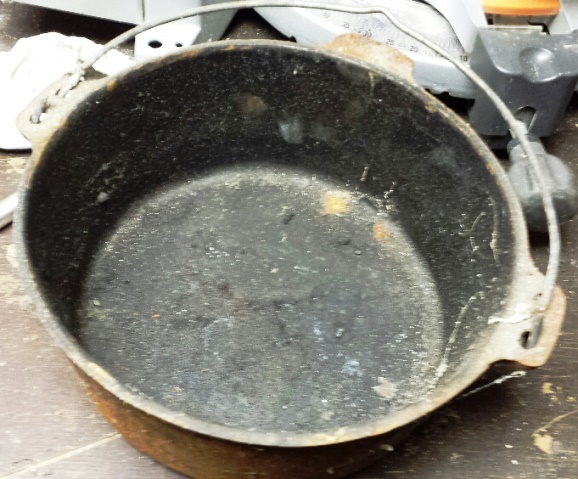
Yeah I don’t think a salt rub or vinegar bath is really going to help here. Fortunately, things were not so bad on the inside and one of cast irons many attributes is how hardy it really is.
In the immortal woods of Tim “The Tool Man” Taylor, we need more power… One drill with a wire wheel coming up
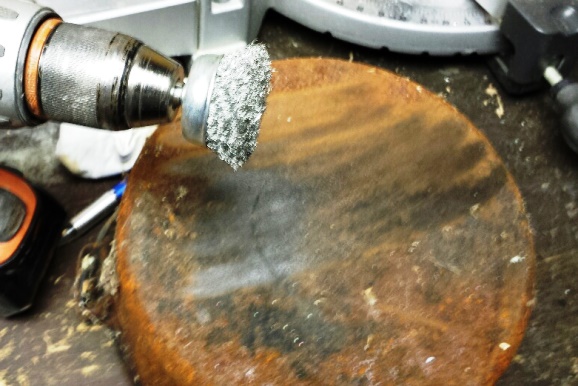
That right there took about 5 to 10 minutes. While I am not the best at wearing PPG, I do recommend you wear gloves, and safety glasses at a minimum – quite possibly a respirator to.
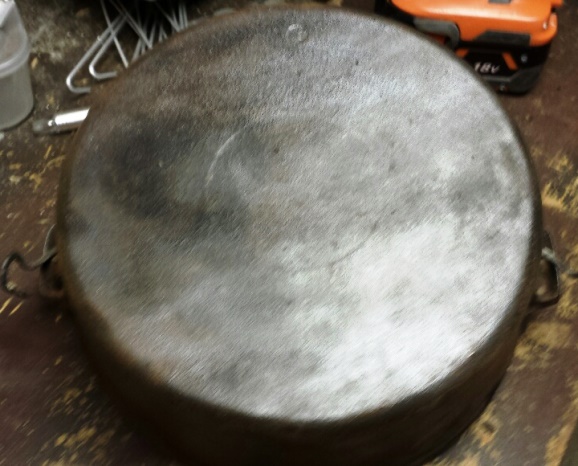
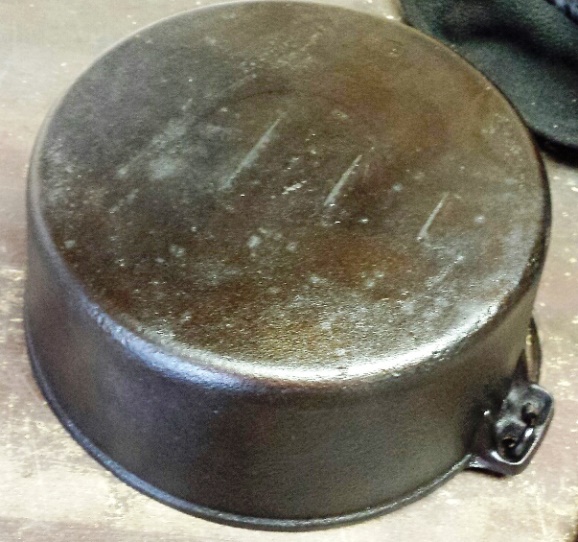
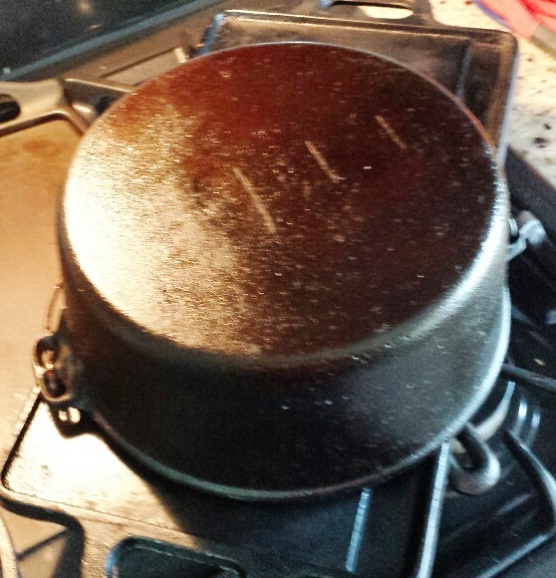
After an hour or so, this is how it looks (after going through almost two wire wheels) with a light coat of vegetable oil rubbed on it. The trick is to remove all the surface rust you can then grab some vegetable oil and apply it. Let it soak in for a bit & wipe off. Yeah it is going to be filthy, do this a few more times to help pull up most of the surface containments & then it is time to re-season your pans.
WOODWORKERS: But wait I can’t do that to my joiner table, or… In this case you wouldn’t be using vegetable oil but rather go to a woodworking shop & see what products they have available as you would probably just be wiping it down real well & applying a wax to it. Yes there are some kits out there while others will swear by their own concoctions like using 409 / goof off to clean, WD40 to protect (similar to vegetable oil stage) and using auto / carnauba / floor paste wax as the final protection. (Sorry I am not getting into that war)
2 schools of thought – seriously once you have it to this point you can re-season the pans however you see fit. I did a three step on this set. The first one was setting the oven to 250 & heating up the vegetable oil & pan, wiping it & letting it cool.
After it cooled I applied a layer of lard* & put it back in the oven at 250 with a drip pan underneath. Once the excess melted off and was caught on the drip pan I removed the drip pan & cranked the oven up to finish the process.
This is the final shot after the whole set was completed. As for lard, many have issues finding it – what you need to do is look in the ethnic area & you will probably find it. With that I actually passed on the lard this time as it had flavor enhancers added & instead went with Crisco Baking Stick. Would I prefer true lard, yes but I doubt very few could ever tell the difference, especially over time.
