 In this series on Looking Back & Looking Forward, we are reviewing a green home we built over 2 years ago, the lessons learned and more importantly, how we can utilize those lessons on future builds. In the past articles, we have covered quite a few topics (listed at the end) and have left off where all the framing & rough-ins have been completed. Following that, we only have one thing left to do before we install the drywall and that is to insulate the building.
4 Most Common Insulation Types:
- Batt Systems; Fiberglass, Rock or Slag Wool, Cotton, Real Wool, Recycled Plastic
- Blown In Systems; Fiberglass, Cellulose, Rock or Slag Wool (Loose Fill & Dense Pack)
- Rigid Boards; Foam, Fiberglass, Rock or Slag Wool
- Sprayed Foam: Open Cell aka low density, Closed Cell aka high density
Above is just a small sampling of the many types and materials used for insulating today’s houses. The ones in Bold are the most popular in those 4 categories. However, just because they maybe the most popular does mean they are the best, or the right option for your house.
In terms of the actual materials performance, it actually is quite simple (from good to best) Fiberglass, Cellulose, Open Cell Foam, Closed Cell Foam – while you may see plenty of “studies” on the subject, the only debatable part is between dense packed Cellulose and Open Cell Foam. In regards to the cost, the list is the exact same – Fiberglass is cheapest, followed by Cellulose, Open Cell & then Closed Cell.
Choices & Installation Procedures:
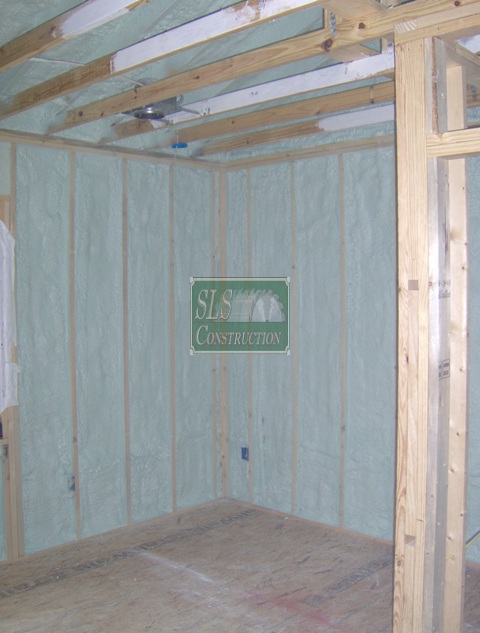
Quite honestly, we did not waste time considering all the different options; our choice was pretty simple – Closed Cell Soy based foam from Demilic. With all the specifications that needed to be met, it was a no-brainer and it fit inside the budget. While we possibly could have met the specifications using other products, it would have probably exceeded the cost and / or not been as effective.
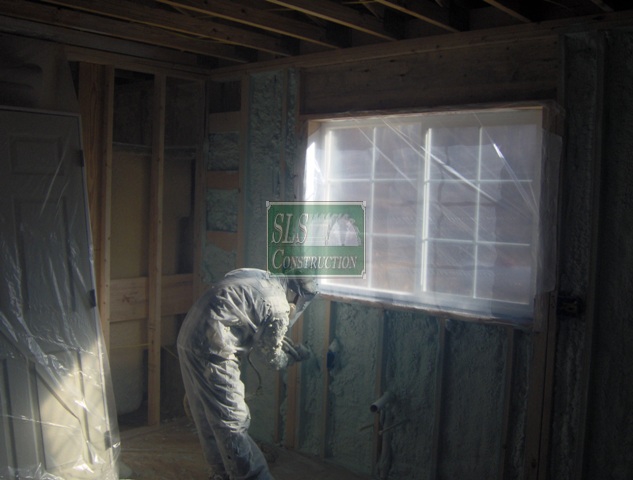
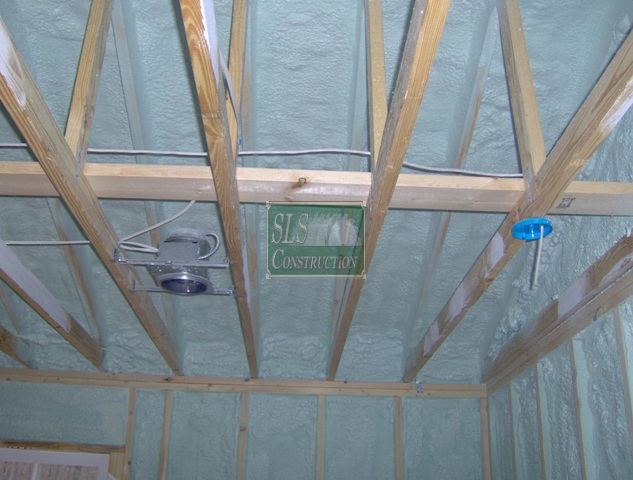
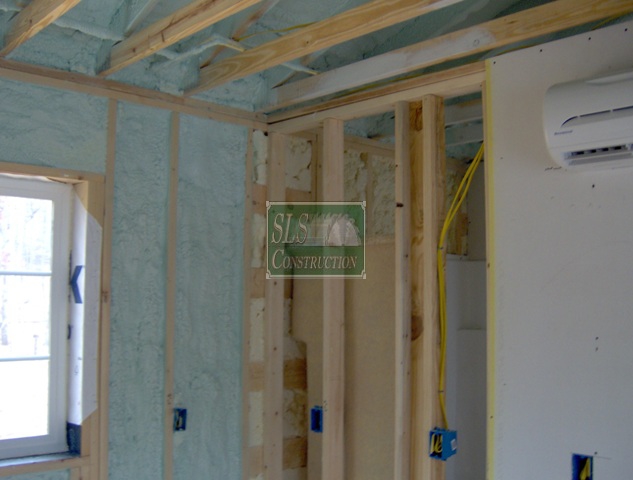
 The first thing they did after showing up, was to install plastic on all the windows, doors & everything else that might cause issues trying to clean off. After this & they had their equipment setup, they put on their moon suits respirators & the other protective gear. Over the next day & a half – they sprayed 2 lifts (minimum of 4” total) in all the exterior framing area’s that hadn’t been completed earlier by us during the rough in phase (Roof, Floor and Wall’s). They also sprayed the headers, and filled in any cracks or gaps that they could find between framing members and window openings.
Insulation and Sheltering-In-Place:
In the last article, we described how we framed the interior walls and the structure to allow one to “Shelter-In-Place” during bad weather. There is one other facet to Sheltering-In-Place & that involves being able to live in your house without any power for 72 hours or more. While the weather is temperate to hot out, almost anyone can do that, it might not be comfortable, but it is doable. The main catch is what happens if you lose power during the middle of winter?
In this case, the day after the insulation was installed, we had our 4th snowstorm of the year (personally, it was a dusting, but when in Rome…) and the temperature dropped into the low 20’s overnight. I was not really looking forward to working on the place that day, because we were not going to be using the propane heaters anymore due to air quality & moisture issues. While I expected the place to be warmer than before, all I had was a few electric heaters to help warm it up. In the end, we never bothered powering them up because it was still in the 60’s inside.
Other benefits:
- Indoor Air Quality – By utilizing Closed Cell Foam, this helps minimize air leakage, dust & moisture infiltration issues
- Hot Roof – no pesky ventilation or moisture issues, the attic is only about 2 degrees warmer than the house resulting in actual usable conditioned storage
- Structural – By utilizing Closed Cell Foam, we actually increased the buildings resistance to racking, expansion, contraction, and increased the ability of it to handle high winds. While certain companies try to claim that “all houses have to be built to code, so this is a worthless point,” must not get the fact that the minimum acceptable code, isn’t acceptable.
Prior articles in The Looking Back Series:
- Building Green Homes: Looking back & Lessons learned – Why we build the way we do, the initial concept, issues, what green meant to the owners, and the final results
- Building Green Homes: Step 1 – Design & Modeling – The design process, what is modeling, modeling the design after the fact, the modeling results
- Building Green Homes: Step 2 – Layout & Orientation – The Plat map, plans, surveyors, why orientation matters
- Building Green Homes: Step 3 – Footings & Foundations – What is a footing, what is a foundation, different types, why we choose a Pier & Beam system
- Building Green Homes: Step 4 – From Footings to Sub-Floor – Building the base, floor system, post & beam, materials used
- Building Green Homes: Step 5 – Building the Shell – Framing & sheathing the walls & roof, quick discussion on why the OVE framing is not always optimal (Optimized Value Engineering)
- Building Green Homes: Step 6 – Drying In the Roof – Doing it right the first time, the how & why it really does matter
- Building Green Homes: Step 7 – Drying In the Walls / Air Sealing – Doing it right the first time can save you thousands later, windows, doors, foam board, WRB’s, and the list keeps going
- Building Green Homes: Step 8 – Interior Framing, Rough-In’s – Framing the Interior Walls, items to consider, Universal Design, Shelter-in-Place, Electrical, Plumbing, HVAC, Staying Connected & a product called eXapath


